- Stock: In Stock
- Model: antqvase02
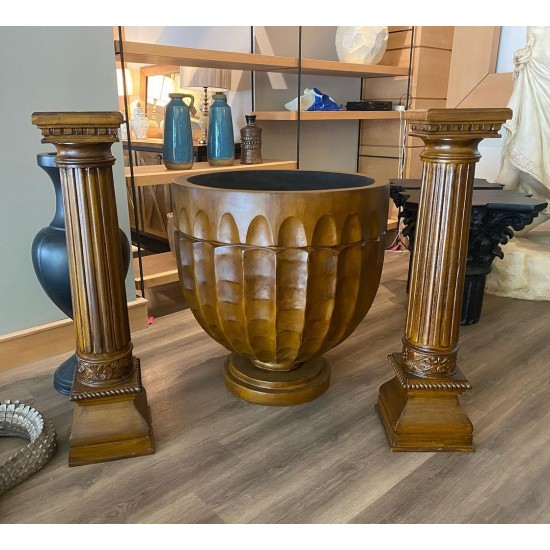
Wholesale Antique Look Vase From Turkiye
antique look for a vase can be a fun and creative project. Here's a general guide on how to achieve that aged, vintage appearance:
Materials you'll need:
Vase: You can use any vase you like, whether it's a new one or an old one you want to revamp.
Base coat paint: Choose a color that you want to show through the distressed areas (often a lighter color like cream or light gray).
Top coat paint: This is the main color of your antique vase. Consider using muted, earthy tones like soft blues, greens, or neutrals. You can also use metallic paints for a shimmering effect.
Paintbrushes: You'll need brushes of various sizes for different painting techniques.
Sandpaper: Fine-grit sandpaper to distress the paint.
Clear wax or antiquing glaze: This will give your vase an aged look.
Old cloth or rags: For applying the wax or glaze.
Steps:
Clean the vase: Make sure your vase is clean and free from any dirt or residue.
Apply the base coat: Paint the entire vase with the base coat paint. Let it dry completely.
Apply the top coat: Once the base coat is dry, apply the top coat paint. You don't need to cover it completely; leaving some spots with the base coat showing through is key to the antique look.
Distress the paint: After the top coat dries but before it fully cures, gently sand the vase in areas where natural wear would occur over time. Focus on edges, corners, and raised details. This will expose the base coat and create a weathered appearance.
Apply wax or glaze: Use a clear wax or antiquing glaze to give the vase an aged appearance. Apply it sparingly, focusing on the distressed areas and crevices. Wipe off any excess with a cloth.
Optional: Add embellishments: You can further enhance the antique look by adding decorative elements like stencils, decals, or faux cracks and chips using darker paint.
Seal the finish: To protect the finish, you can apply a clear sealer after everything has dried completely.


